June 22, 2014
Today I have both a CT tag to show off, and a tutorial.
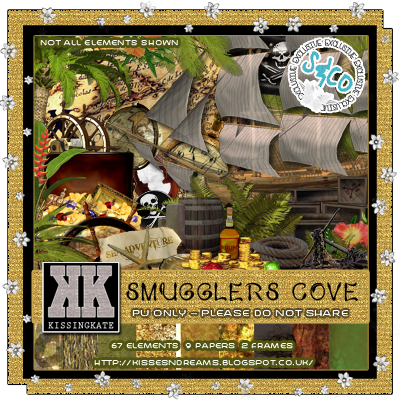
Being on Kissing Kate's CT I had a play with her awesome kit Smuggler's Cove.
I just love pirate kits and tags, so really enjoyed working with this one.
I just love pirate kits and tags, so really enjoyed working with this one.
I made this tag using the artwork of Melissa Dawn, and decided to write a tutorial for it.
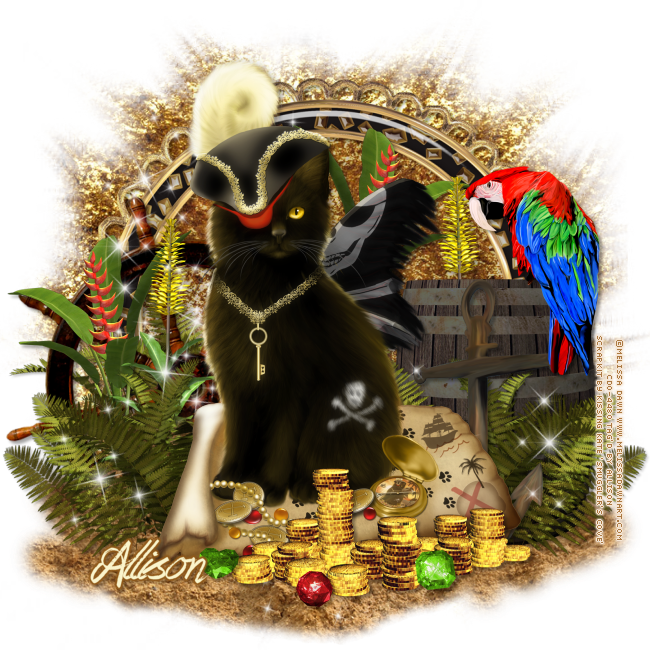
TUTORIAL - PIRATE KITTIE
This tutorial was written by me using PSP X, but any version should work.
Resemblance to any other tutorial is purely coincidental.
This tutorial assumes a good knowledge of PSP and tagging.
Supplies:
Tube of choice. I am using the artwork of Melissa Dawn, license and tube available at CDO.
Kit: PTU kit Smuggler's Cove by Kissing Kate, available at Scraps N Company.
Mask: Mask 36 by Chrissy's Chaos, available here (last one)
Font: Praying Angel, available here
Eye Candy 4000 Gradient Glow
Unless otherwise stated, I have used a Drop Shadow with settings of: 3,3,35,4, color black.
For sharpening resized tube/elements, I have used Unsharp Mask with settings of: Radius 3, Strength 30, Clipping 3, Luminance Only unchecked.
For sharpening resized tube/elements, I have used Unsharp Mask with settings of: Radius 3, Strength 30, Clipping 3, Luminance Only unchecked.
Let's get started!
Copy and paste Frame 2 as a new layer, resize by 70% and sharpen, add drop shadow.
Copy and paste Paper 4 as a new layer under Frame layer, resize by 82%, apply your mask (Chrissy's Chaos Mask 36). Merge mask group.
Copy and paste Paper 4 as a new layer under Frame layer, resize by 82%, apply your mask (Chrissy's Chaos Mask 36). Merge mask group.
Copy and paste Paper 8 as a new layer under Frame layer, resize by 82%. Make frame layer active, take your Magic Wand Tool and click inside the frame. Go to Selections - Modify - Expand by 15 - Invert. Make Paper 8 layer active and hit Delete. Select None. Change Opacity to 30%.
Copy and paste Element 22 (sand) above all other layers and resize by 95%, sharpen, mirror and place near the bottom of the tag.
Copy and paste your tube as a new layer above the sand layer, and place near the center of the tag. Apply a drop shadow.
Copy and paste Element 18 below the tube layer, resize by 45%, sharpen, and place to the right. Apply a drop shadow.
Copy and paste Element 49 below the tube layer, resize by 60%, sharpen, and move to the right. Duplicate and mirror. Apply a drop shadow to both layers.
Copy and paste Element 15, resize by 75%, sharpen, move to the left below the ferns, apply a drop shadow.
Copy and paste Element 20 and resize by 30%, sharpen, mirror and add a drop shadow. Place the bird as if it's sitting on the barrel.
Copy and paste Element 4 and resize by 43%, sharpen and place behind your tube. Duplicate, mirror and place behind the fern on the left. Add a drop shadow to both layers.
Copy and paste Element 34 and resize by 55%, sharpen and place behind the barrel. Duplicate, mirror and place to the left of your tube, just below the fern layer. Add a drop shadow to both layers.
Copy and paste Element 61 and resize by 45%, sharpen, move to the right, just below your tube layer, apply a drop shadow.
Copy and paste Element 23 and resize by 50%, sharpen, and place to the bottom of your tag, slightly covering your tube layer. Apply a drop shadow.
Copy and paste Elements 57, 58 and 59 and resize by 8%, sharpen. Place in front of the money, see my tag for placement. Add a drop shadow to all layers.
Copy and paste Element 62 and resize by 80%, sharpen, flip and mirror. Place below your tube layer. Move down slightly.
Add your copyright.
Add your name. I used Praying Angel font with a colour from my tag, and applied a thin gradient glow, and drop shadow.
Save as png.
DONE!!
I hope you've enjoyed this tut.
If you have any questions or find a mistake, please feel free to send me an email.
Also, I'd love to see any tags made using this tut, so again, please
feel free to email me your creations, or post the link to your tag in
the comments below.
~Allison~
Subscribe to:
Post Comments
(Atom)
0 people loved this post!:
Post a Comment