Showing posts with label Template. Show all posts
Showing posts with label Template. Show all posts
January 27, 2022
I just love Alice In Wonderland themed tags! They're so bright, colourful, fun and whimsical!
Hania's Design recently released this fabulous kit called Down The Rabbit Hole. It's full of bright, fun elements, plus it comes with some tubes to play with as well. The kit is available at PFD HERE.
I paired the kit with a great Alice themed tube by Ellie Milk, which is available at PFD HERE.


I made the template for my tag too.
You can download the template HERE.
Enjoy! :)


January 15, 2022


I made this set using a sweet tube by Queen Uriel. The tube was a commission that she made for me from one of her Marathons. I had asked for a little girl fairy in pajamas, ready for bed. Carolina did a wonderful job, as always, and created this wee cutie for me :) It's a regular commission, so is available at Queen-Uriel's Art and Tube Store HERE.
I made the template for my tag set as well.
You can download it HERE.
Enjoy :)


January 09, 2022
CT for Doodle by Design featuring the beautiful kit called Valentine Hearts which is available at Deedles and Doodles HERE.
I paired the kit with a stunning tube by Verymany called Love Angel 4 which is available at Verymany Tubes HERE.
I paired the kit with a stunning tube by Verymany called Love Angel 4 which is available at Verymany Tubes HERE.


I made the template that I used for this tag.
You can download the template set HERE.


December 09, 2021


August 07, 2016



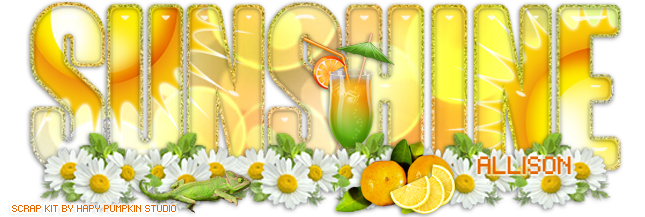
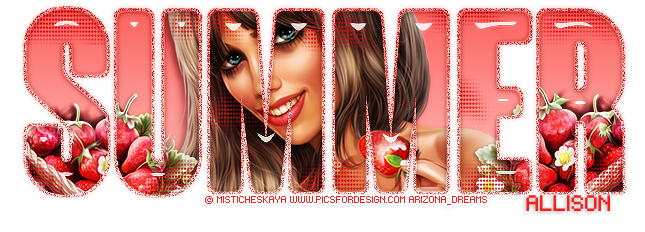
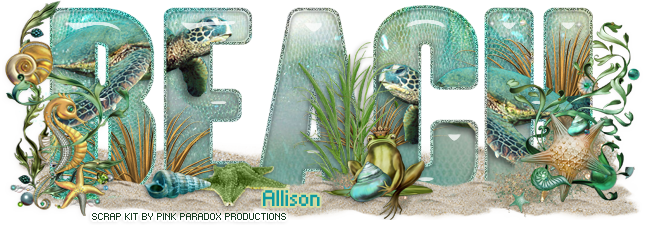

Please feel free to use my tutorials in any groups, but please link back to my blog, do not copy any portion of the tutorial or claim as your own.
The tutorial was written with the presumption you have of a good knowledge of Paint Shop Pro.
With your Text Tool, type out a word in capital letters, size 180, using Coluna Rounded font, or any bold font of your choice. You can use any colour as you can change the colour later when you tag the template. For my template I used a gradient of 2 shades.
Create your font as a Vector so that you can change the size of the word.
Once you have your vector, take your cursor and pull the edges of the vector to your desired size.
Once you have the word your desired size, convert the vector layer to a raster layer.

Hit Selections - Modify - Expand by 3.
Now with the marching ants border still there, add a new layer under your main word layer.
Add Noise Effect, Uniform, 60% with Monochrome checked (if desired).
Now for the glass effect.
With your main word layer active, hit Selections - Select All - Float - Defloat.
Now add a new raster layer above your main word layer.
Go to Effects - Eye Candy 5 - Impact - Glass.
Make your glass effect with the following settings:


Note: Adding the glass effect on a separate layer makes it easy for you to make your tag...you can change the colours of your word, or add elements or tubes to it, and still have your glass effect separate.
Now just crop your template and save as a pspimage or psd file.
Done!


October 26, 2014
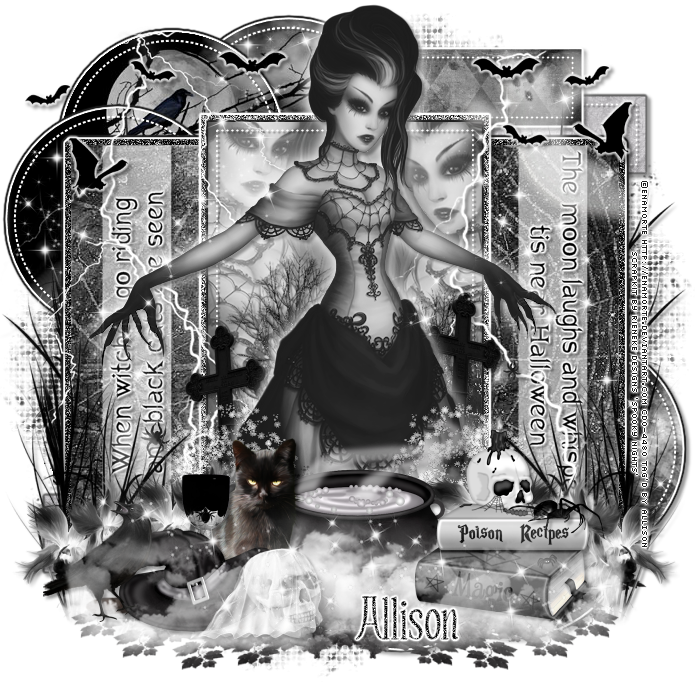
I don't normally do dark tags, or all black and white tags, but I love this kit, and for Halloween it's perfect!

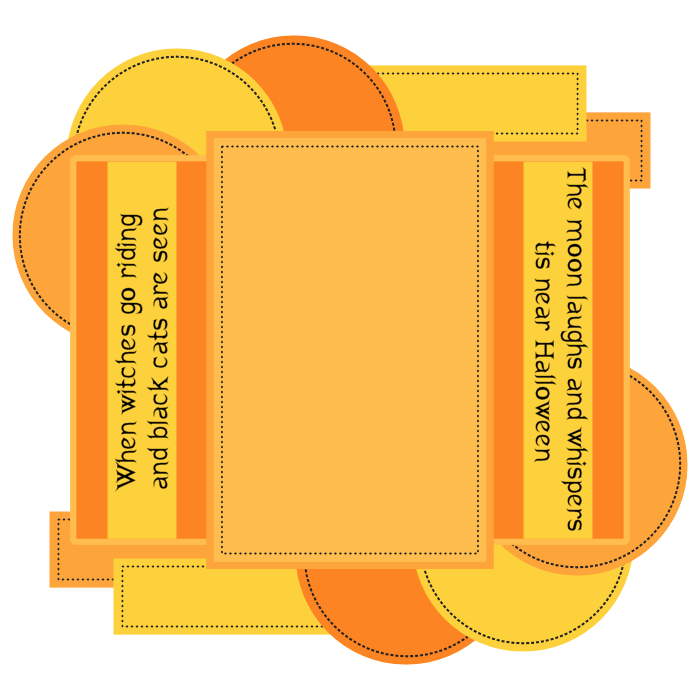
For this tag, I made a template.
Here's a preview of the template, which you can download HERE.
Here's a preview of the template, which you can download HERE.
I used the awesome artwork of Enamorte, which is available at CDO.
This tube is this month's bonus tube...so hurry if you want it :)

June 21, 2014
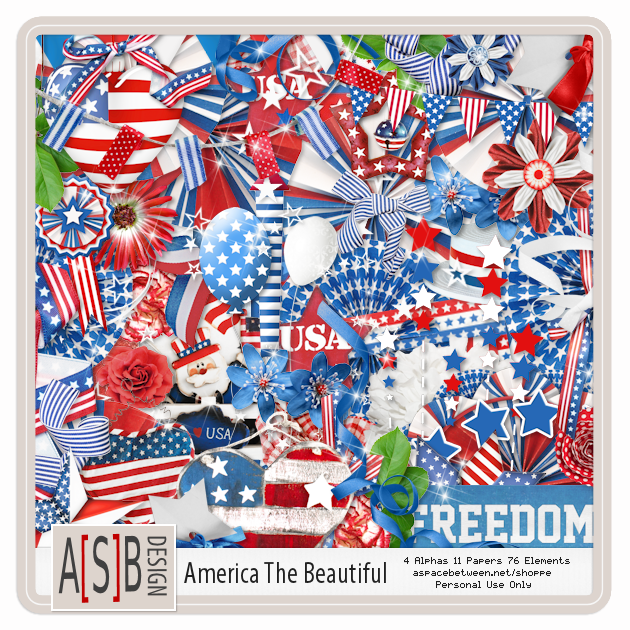
Mirella of A [Space] Between made this gorgeous kit called America The Beautiful.
It's packed with tons of patriotic elements, in vibrant red, white and blue!
Here's a preview of the kit, which is available at Dees'Sign Depot.
And here's a tag I made with the kit, and the artwork of Elias Chatzoudis which is available here.
Mirella is a big soccer/football fan, so I made this tag for her, in honour of the Fifa World Cup.

The fab soccer animation was made by Sophisticat Simone and is available at CDO.
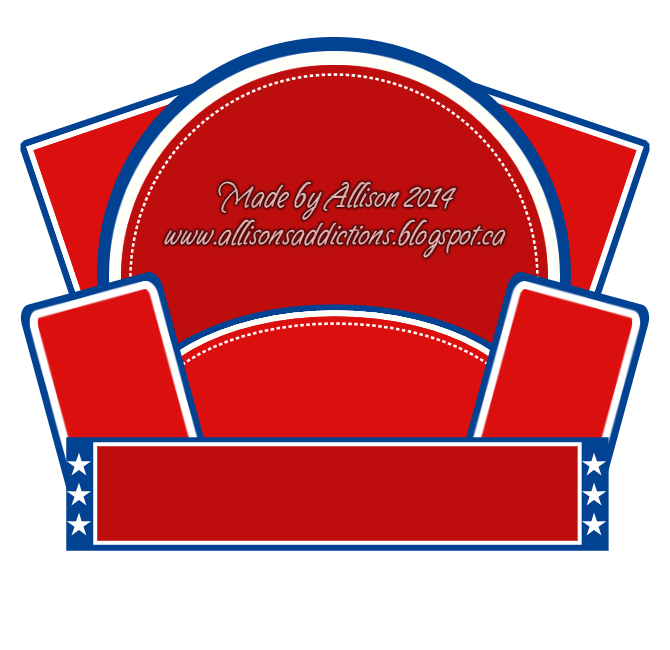
The template was made by myself, and can be downloaded here.
~Allison~
February 20, 2014
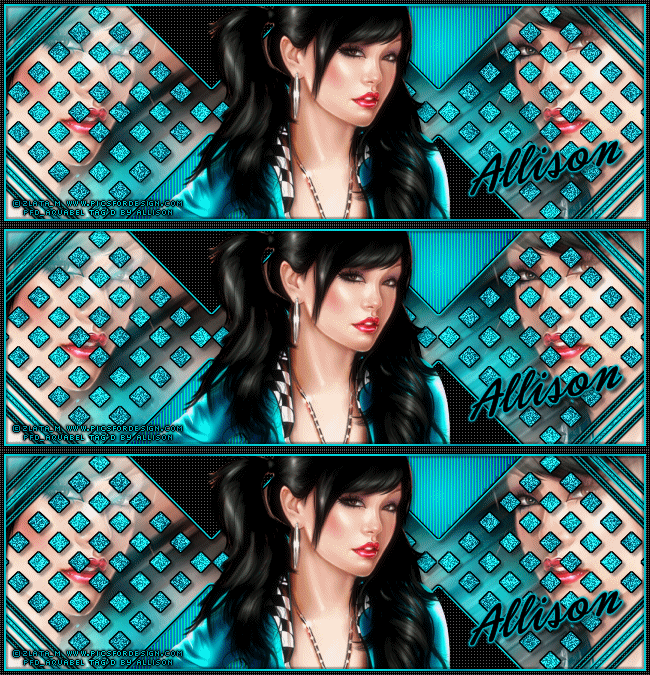
I had so much fun making my last forum set template, I decided to make another :)
Here's a preview of the set.
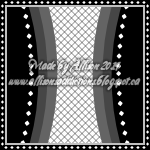

You can download the template here.
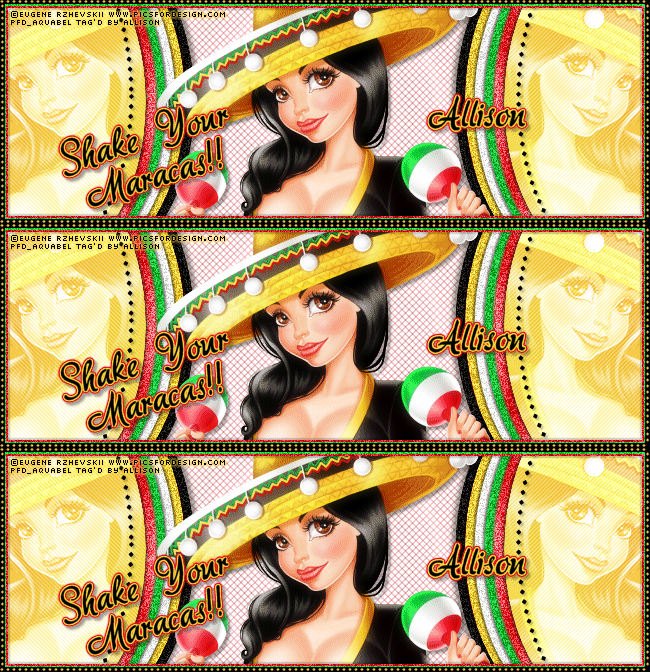
Here's a set I made with the template.
Decided to go bright and colourful this time lol and used the artwork of Eugene Rzhevskii, available at PFD.
Decided to go bright and colourful this time lol and used the artwork of Eugene Rzhevskii, available at PFD.

~Allison~
I had so much fun making my last forum set template, I decided to make another :)
Here's a preview of the set.
You can download the template here.
Here's a set I made with the template.
Decided to go bright and colourful this time lol and used the artwork of Eugene Rzhevskii, available at PFD.
Decided to go bright and colourful this time lol and used the artwork of Eugene Rzhevskii, available at PFD.
~Allison~
February 16, 2014


Subscribe to:
Posts
(Atom)